
PEBBLECRETE / MATERIAL LIBRARY
Application Techniques
Plan the work beneath and around the pool finish. These checks help the project team prepare for professional application.
What needs to be ready beneath the finish?
A decorative finish depends on the construction beneath it. PebbleCrete does not replace structural repairs or the project’s required waterproofing system.
Before finishing begins, check the condition of the shell and render and agree the preparation and bonding requirements. Weak or detached render must be addressed before it is covered. Investigate cracks to establish their cause and whether they are moving; the repair or joint detail must respond to that finding.
The project specification should identify how the pool will be made watertight and confirm compatibility with the finish system. A decorative coating must not be treated as a remedy for an unexplained leak. Complete the specified waterproofing and water testing at the agreed stage, and record acceptance before the relevant work is covered.
Coordinate fittings, lights, drains and overflow edges before the finishing visit. Complete nearby dusty or heavy work and clean the pool and associated tanks. Confirm that circulation equipment works and that suitable filling water is available. Measure clearances with the intended finish thickness allowed for, so covers and fittings will still fit. Mixing, exposure and startup must follow the current approved method.
Where the finish sits in the pool system
The visible surface is one part of a coordinated build-up. Reading it as four layers makes the responsibilities clear.
| Layer | What it does |
|---|---|
| Pool water | The finish is always viewed through it. Depth, light and water chemistry all act on what you see. |
| Exposed aggregate finish | Visible particles held in a cement matrix. Nominal applied thickness 10 mm. |
| Bond coat | Connects the finish to its prepared base. On a renovation this layer is not optional. |
| Prepared watertight base | The structural shell and the specified preparation, levelling and waterproofing. |
The finishing layer gives the pool its colour and texture, but its geometry follows the prepared base. Wall alignment, falls, step shapes and any major level correction belong to preparation, not to finishing. A finish applied over weak render, contamination or an incompatible layer can fail even where the aggregate itself is sound.
Before the application visit
| Check | Project-team action |
|---|---|
| Sound substrate | Investigate moving cracks and weak or hollow render; agree repairs and acceptance before covering them. |
| Waterproofing and water testing | Confirm the specified system, compatibility and responsible party; record completion and acceptance. |
| Fittings and levels | Check lights, drains, covers, fittings, steps and overflow levels before the finish changes clearances. |
| Other construction | Finish nearby dusty or heavy work; prevent later debris, impact and chemical contamination. |
| Pool and tanks | Remove construction debris and clean associated tanks and circulation areas. |
| Filling and operation | Arrange suitable water, working circulation equipment and the agreed startup handover. |
New pools and renovations
The existing structure and the condition of the receiving surface determine the preparation scope.
A new concrete pool
Coordinate the shell, penetrations, waterproofing, levelling, tile interfaces and finish build-up before the final surfaces are formed. Water testing and acceptance of the prepared base should be complete at the stage the pool designer defines. Finishing should not be used to conceal unresolved construction defects.
An existing tiled or plastered pool
A renovation starts with an inspection. Hollow, loose or deteriorated layers need assessment and removal — tap the old surface and listen for hollow spots. Even if the old finish remains attached in places, it is not necessarily a sound base throughout. A bond coat is required. The contractor should define what is to be removed, repaired, retained and tested before a finishing price is treated as a complete renovation price.
Renovation is also the moment to review leaks, fittings, lighting, step geometry, coping, drainage and equipment. Resolve water loss by diagnosing the structure, pipework, joints and penetrations. A generic instruction to coat or fill every junction is not a substitute for finding the cause.
Three matters to settle before finishing
- Condition. Agree the accepted substrate, any repair work and the required water test. Photograph the prepared pool and record the inspection.
- Dimensions. Allow for the build-up around drains, lights, inlets, step markers, coping and waterline materials. Agree the completed levels, not only the unfinished shell dimensions.
- Readiness. Complete overhead work and anything else that could contaminate or damage the surface. Have the fill-water supply and operating equipment ready.
A finish quotation and a renovation quotation cover different work. Ask for the preparation scope in writing: demolition, structural repairs, waterproofing, rendering, equipment changes and the decorative finish should each have a named responsibility.
What happens on site
The sequence below is an overview. The applicator works to the current instructions issued for the selected product and project.
- Confirm the prepared base. The team checks the agreed substrate, levels, transitions and readiness. The bonding arrangement must suit both the prepared surface and the finish.
- Measure and mix. The supplied material, white Portland cement and clean water are measured to the current instructions. Mix full batches only, with exactly the same quantity of cement and water each time, and make sure no water is lost during mixing. Repeatable batches matter: an unplanned change to water or ingredients changes both handling and appearance.
- Place, compact and trowel. The material is worked into a continuous layer. Compaction and careful trowelling consolidate the mix, shape the surface and keep the aggregate properly embedded. Always keep a wet edge. Detailed areas need deliberate workmanship.
- Expose the aggregate. Controlled brushing and washing reveal the particles while retaining the cement matrix that binds them. Timing and degree of exposure affect both appearance and feel. This is a specialist stage, not ordinary cleaning.
- Complete the prescribed finishing treatment. The applicator completes the specified final wash and checks. Any acid treatment belongs to the controlled installation method, with the correct precautions and protection of adjacent materials — it is not an owner maintenance shortcut.
- Fill and begin the agreed start-up. Once the installer releases the pool, filling begins promptly and continues without interruption. The finish cures under water. The start-up programme then governs circulation, brushing, testing and chemical adjustment.
For planning: one 25 kg bag covers approximately 1.8 m² at 10 mm. Weather, access, pool geometry and the accepted substrate all affect the programme, so a single generic installation duration or coverage rate cannot replace a measured project plan. Where colour consistency across a large pool matters, discuss batch planning before the visit.
Steps, waterline and coping
Small details decide whether a pool reads clearly. Agree them before installation, not during it.
Contrasting step markers
The continuous finish can follow steps and curved surfaces. Contrasting markers make individual treads easier to identify against the pool background. Agree the marker layout with the complete step design — tread depth, riser height, edge shape and the expected water level. Set markers securely and finish their interfaces carefully; avoid projecting corners or sharp changes at the contact surface. Where PVC spacers are used, choose a spacer colour that blends with the finish rather than creating a visible dividing line.
A tiled waterline under coping
The waterline is exposed to changing water levels and to the deposits that gather at the air-water interface. A band of pool-suitable tile creates a distinct, maintainable zone above the exposed aggregate interior. Select tile, grout, adhesive and joints as a coordinated immersed-pool detail, and set the band against the actual operating water level and coping position.
Polished waterline bands
A smooth aggregate band is another way to define the waterline. In these details the word terrazzo describes an aggregate surface ground or polished to a smoother face — it describes the treatment, not a different product. A band can use a complementary colour or a deliberate contrast to the main interior.
Agree its height, finished thickness, edge shape, junctions and intended cleaning method, and keep the operating water level inside the area designed to be cleaned. Review a finished sample: a polished aggregate surface can look quite different from the exposed version of the same blend.
A visually flush edge does not mean the layers can be merged without considering movement and water management. Coping, deck and shell may have different construction requirements, and the designer resolves those connections before the finish is applied.
Practical lessons from pool projects
The photographs below are details from pool projects, cropped to show what went wrong rather than where. The first shows a PebbleCrete floor in sound condition for comparison; each of the others sits with its lesson. Select a photograph to view it in full.
The explanations below are current guidance. Use current project documentation for application and startup; historical captions and demonstrations may describe earlier practices.
A finish in sound condition
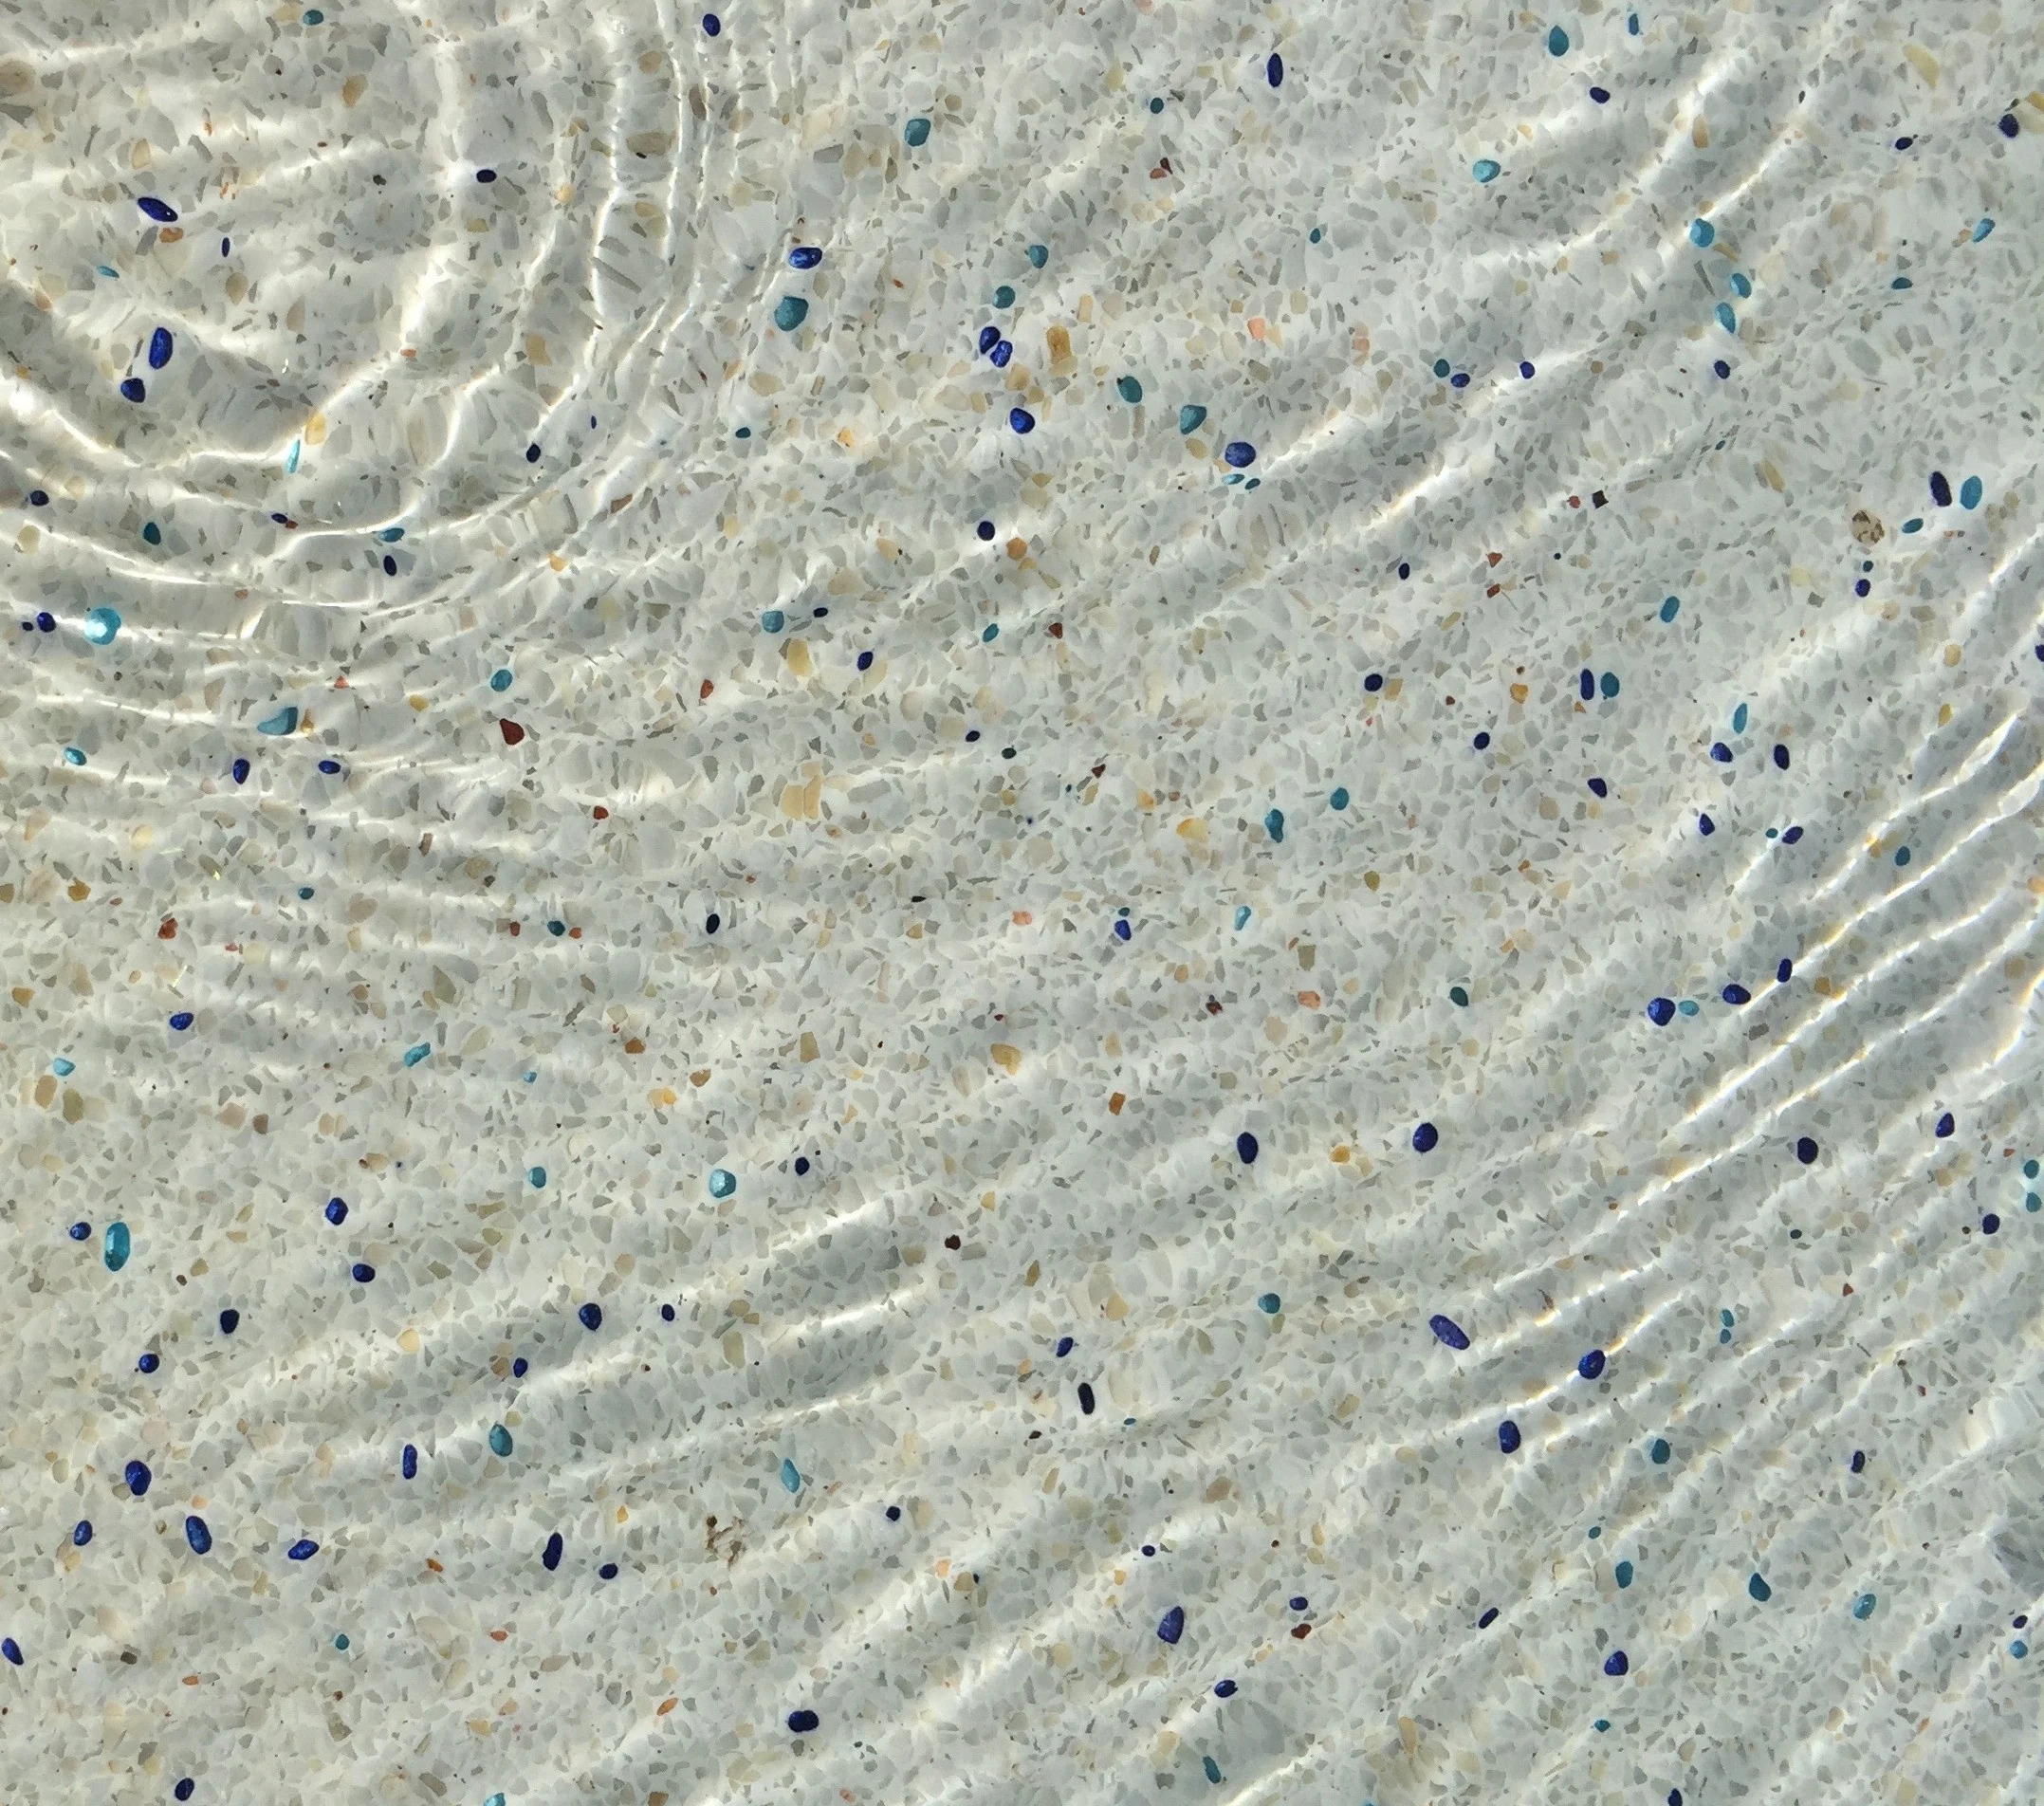
A PebbleCrete floor in sound condition under clear water: stone and glass crystals standing evenly proud of the matrix, edges crisp, nothing dulling or clouding the surface. Compare the defect photographs below against this benchmark.
Unfinished work around the pool
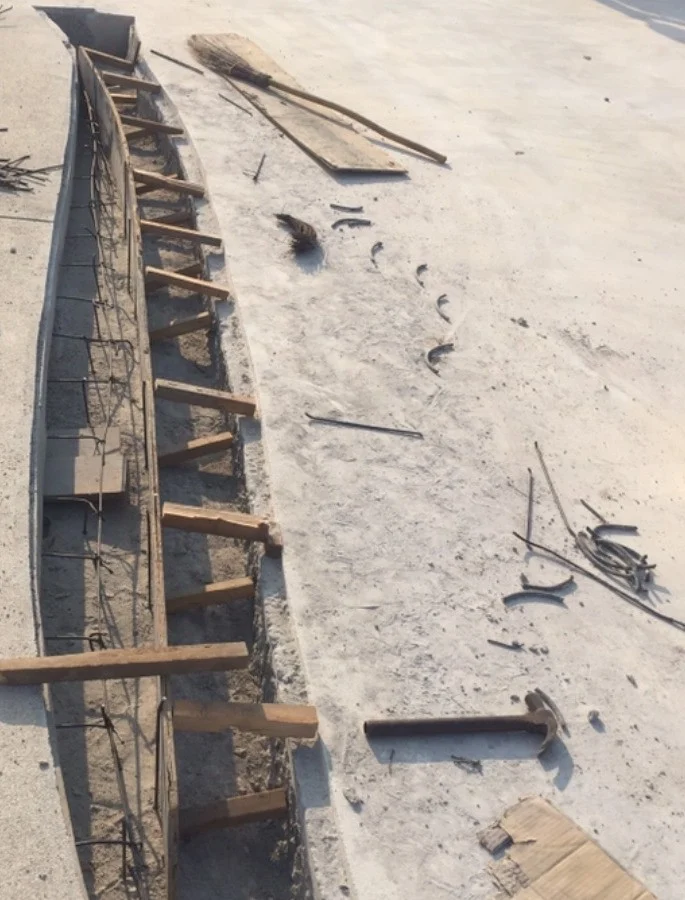
Complete nearby dusty and heavy work before the finish is applied. Plan protection against later debris, impact and chemical contamination.
Exposed steel and cracks
Investigate exposed reinforcement and cracks before covering them. The repair detail must address the cause, movement and project specification; one repair material is not a universal answer.
A dirty working area
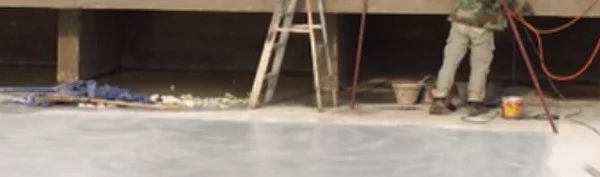
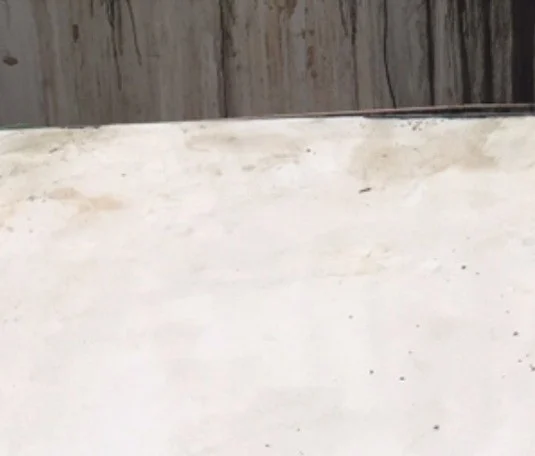
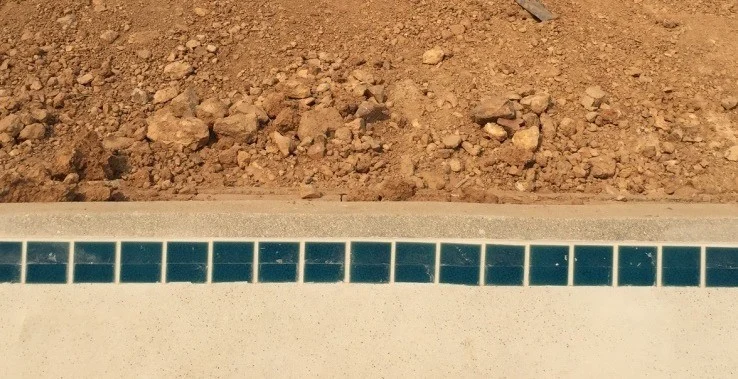
Keep access and the application area clear and clean. Remove construction materials and contamination before the finishing team starts.
Covers and fittings that no longer fit
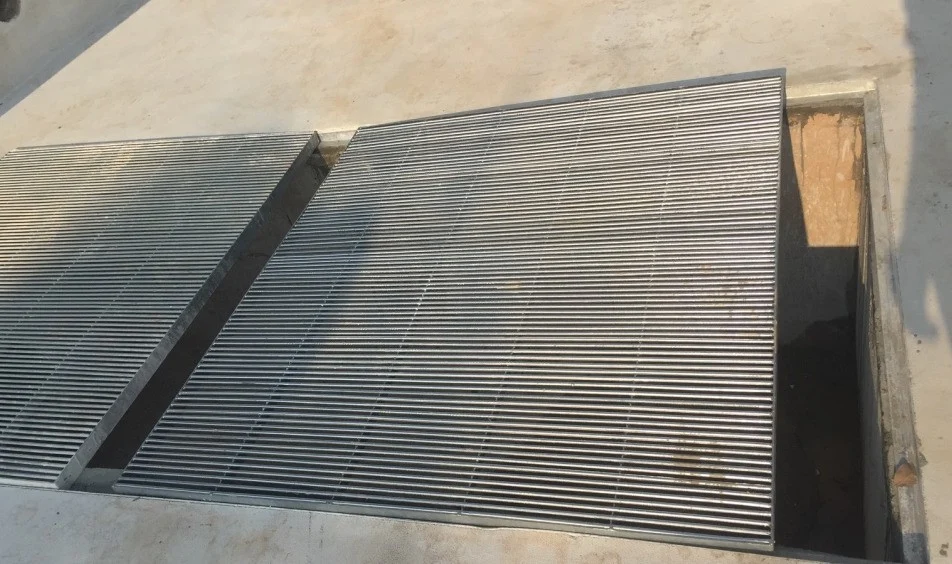
Check grilles, screens, drains and other fittings with the intended finish thickness allowed for. Resolve clearances before application.
Debris in sumps, tanks and drains
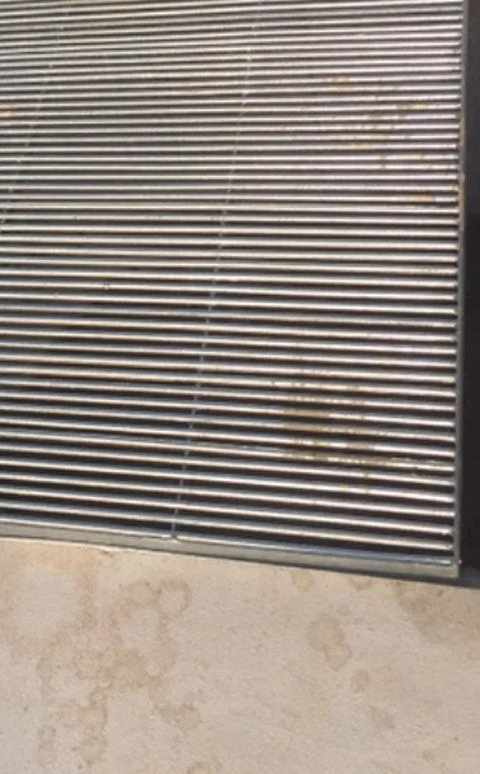
Clean the pool and associated water-storage and circulation areas after construction. Debris left outside the visible pool can return when filling or circulation begins.
Dirty filling water
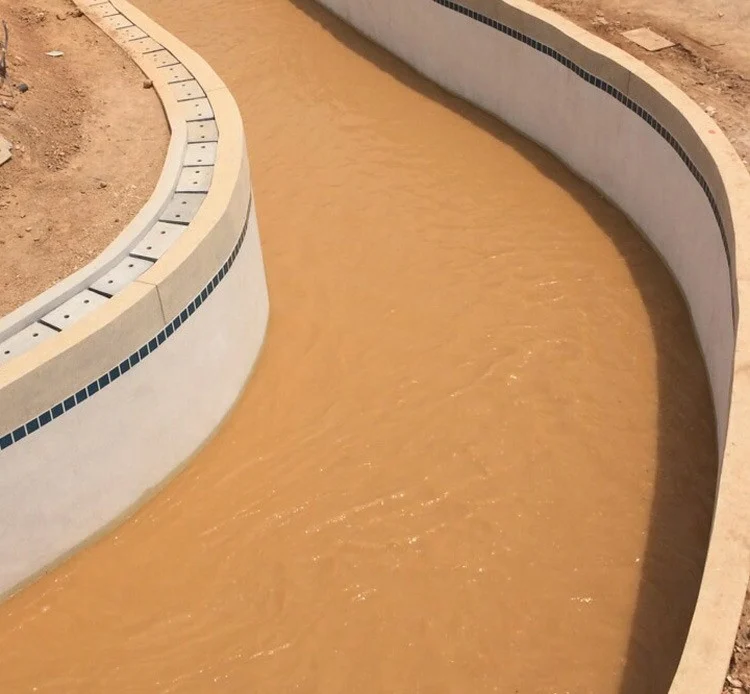
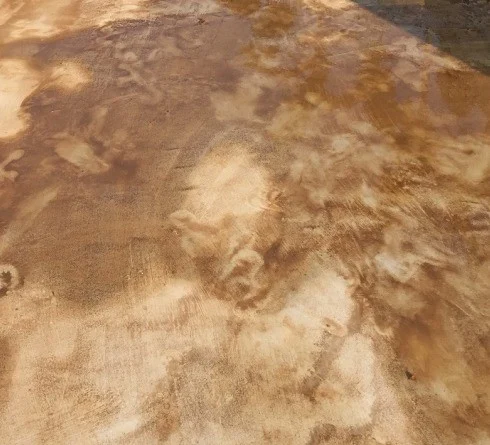
Do not fill a newly finished pool with dirty or contaminated water. Check the water source, storage tanks and delivery hoses before the finishing date. Clear-looking water still needs appropriate testing; retain the results to help assess staining risks.
Using a finished pool for storage
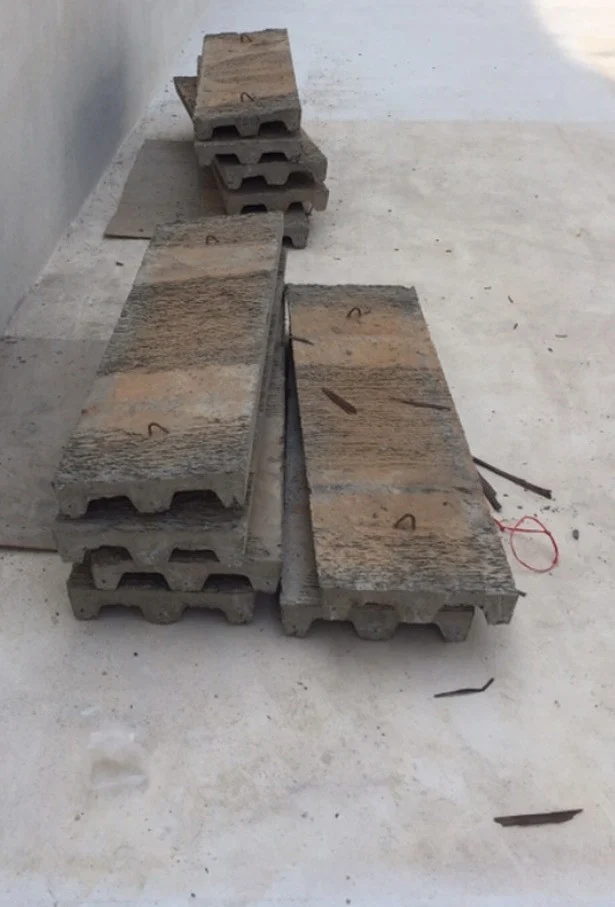
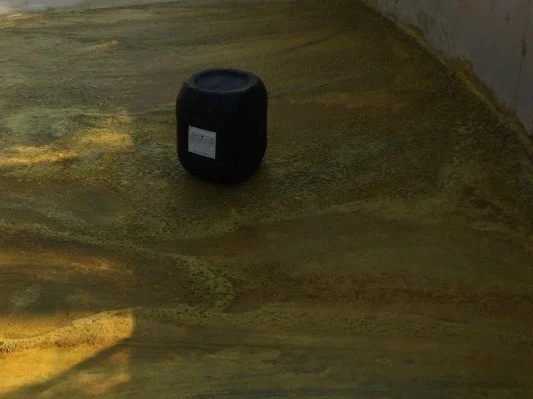
Keep tools, building materials and debris out of the completed pool. Coordinate filling and handover with the approved startup programme.
Damage across different pool surfaces
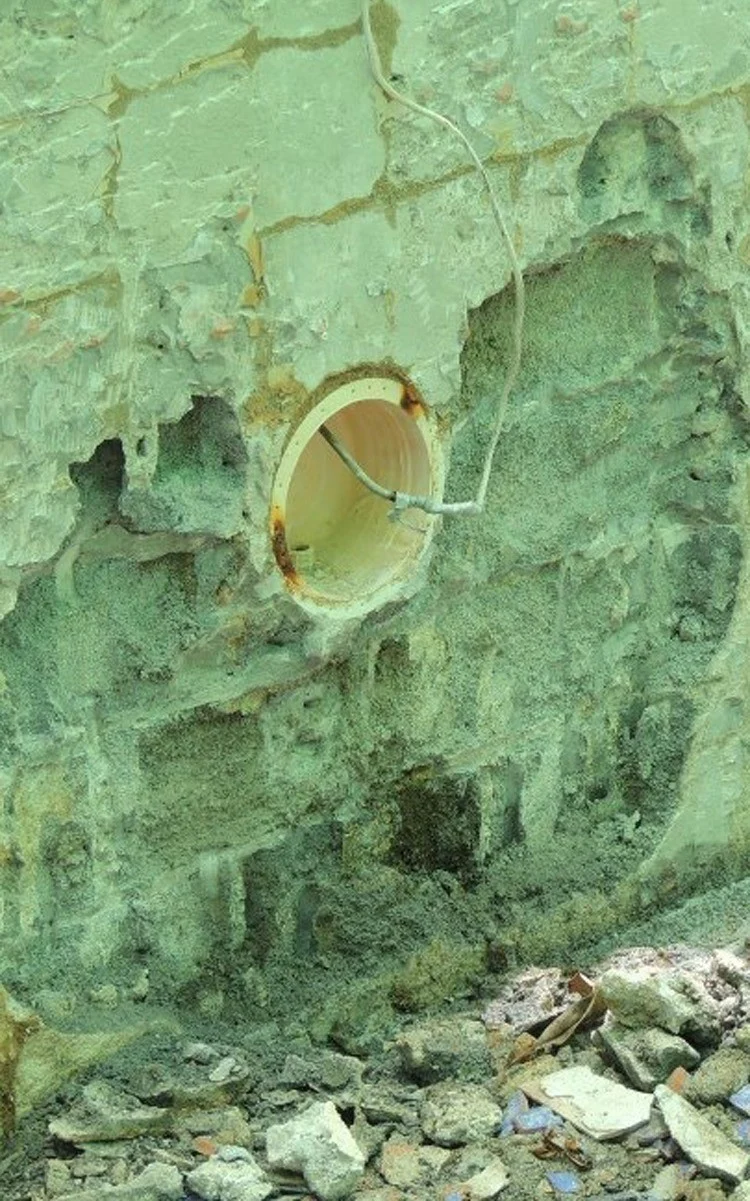
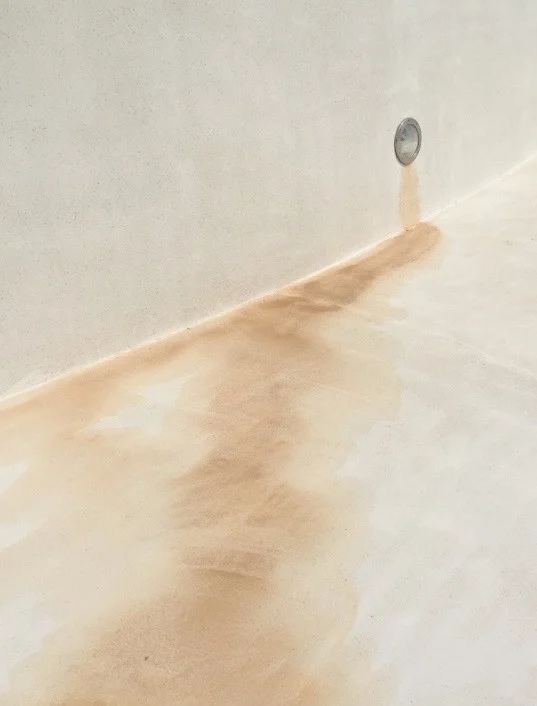
Marks, damaged grout or deteriorating surfaces need investigation of the water history, construction and affected layers. A finish should not be assumed immune to aggressive chemistry.
Aggressive acid cleaning
Concentrated acid left on a cementitious finish can damage its surface. Agree a cleaning or repair procedure for the actual condition; do not experiment with stronger acid or prolonged contact.
Project videos
Original footage from the earlier technical library: a filling example and brush exposure. These short archive clips show parts of past projects; they are not the complete current application or startup procedure.
Filling a new PebbleCrete Glass pool
An earlier filling example. Confirm the water source, cleanliness and approved startup arrangements before the finish is applied.
Brush exposure on site
An earlier on-site demonstration. Confirm the exposure method for the exact material with the current approved application documentation.
Technical documentation for the project
Public planning guidance and the detailed application method serve different purposes. Before installation, obtain the current instructions for the exact material and agreed system, and confirm the applicator understands the requirements.
| Document or information | What to confirm |
|---|---|
| Product information and safety data | The exact product or component, revision and supplied package. |
| Approved application method | Preparation, materials, mixing, exposure and startup for the agreed system. |
| Project responsibilities | Who supplies cement and other components; who accepts the substrate and waterproofing; who carries out application and startup. |
| Test evidence, where required | The method, tested surface or assembly and the limits of the reported result. |
| Site records and handover | Approved sample, material and batch details, observations and startup/care records. |
Detailed mixing ratios, exposure procedures and day-by-day startup instructions are supplied through the approved project documentation. Confirm the current revision with your project team before work begins.